At 555 ft., the Washington Monument is the second highest point in Washington, DC (after Washington National Cathedral). You can’t miss it. In fact, if you’re ever lost, it’s a good thing to look for to get your bearings. It sits right in the middle of the National Mall so during even a short stay in DC, you’re likely to see the Monument from a number of angles and have ample opportunity to get photos. The gigantic size and central placement of the Monument present some unique photographic opportunities and challenges. I’ll walk you through some of those and hopefully set you on the right path for great photos of this unique structure.
When to Go
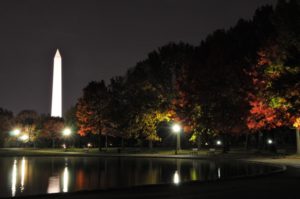
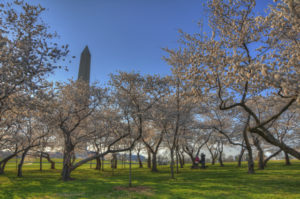
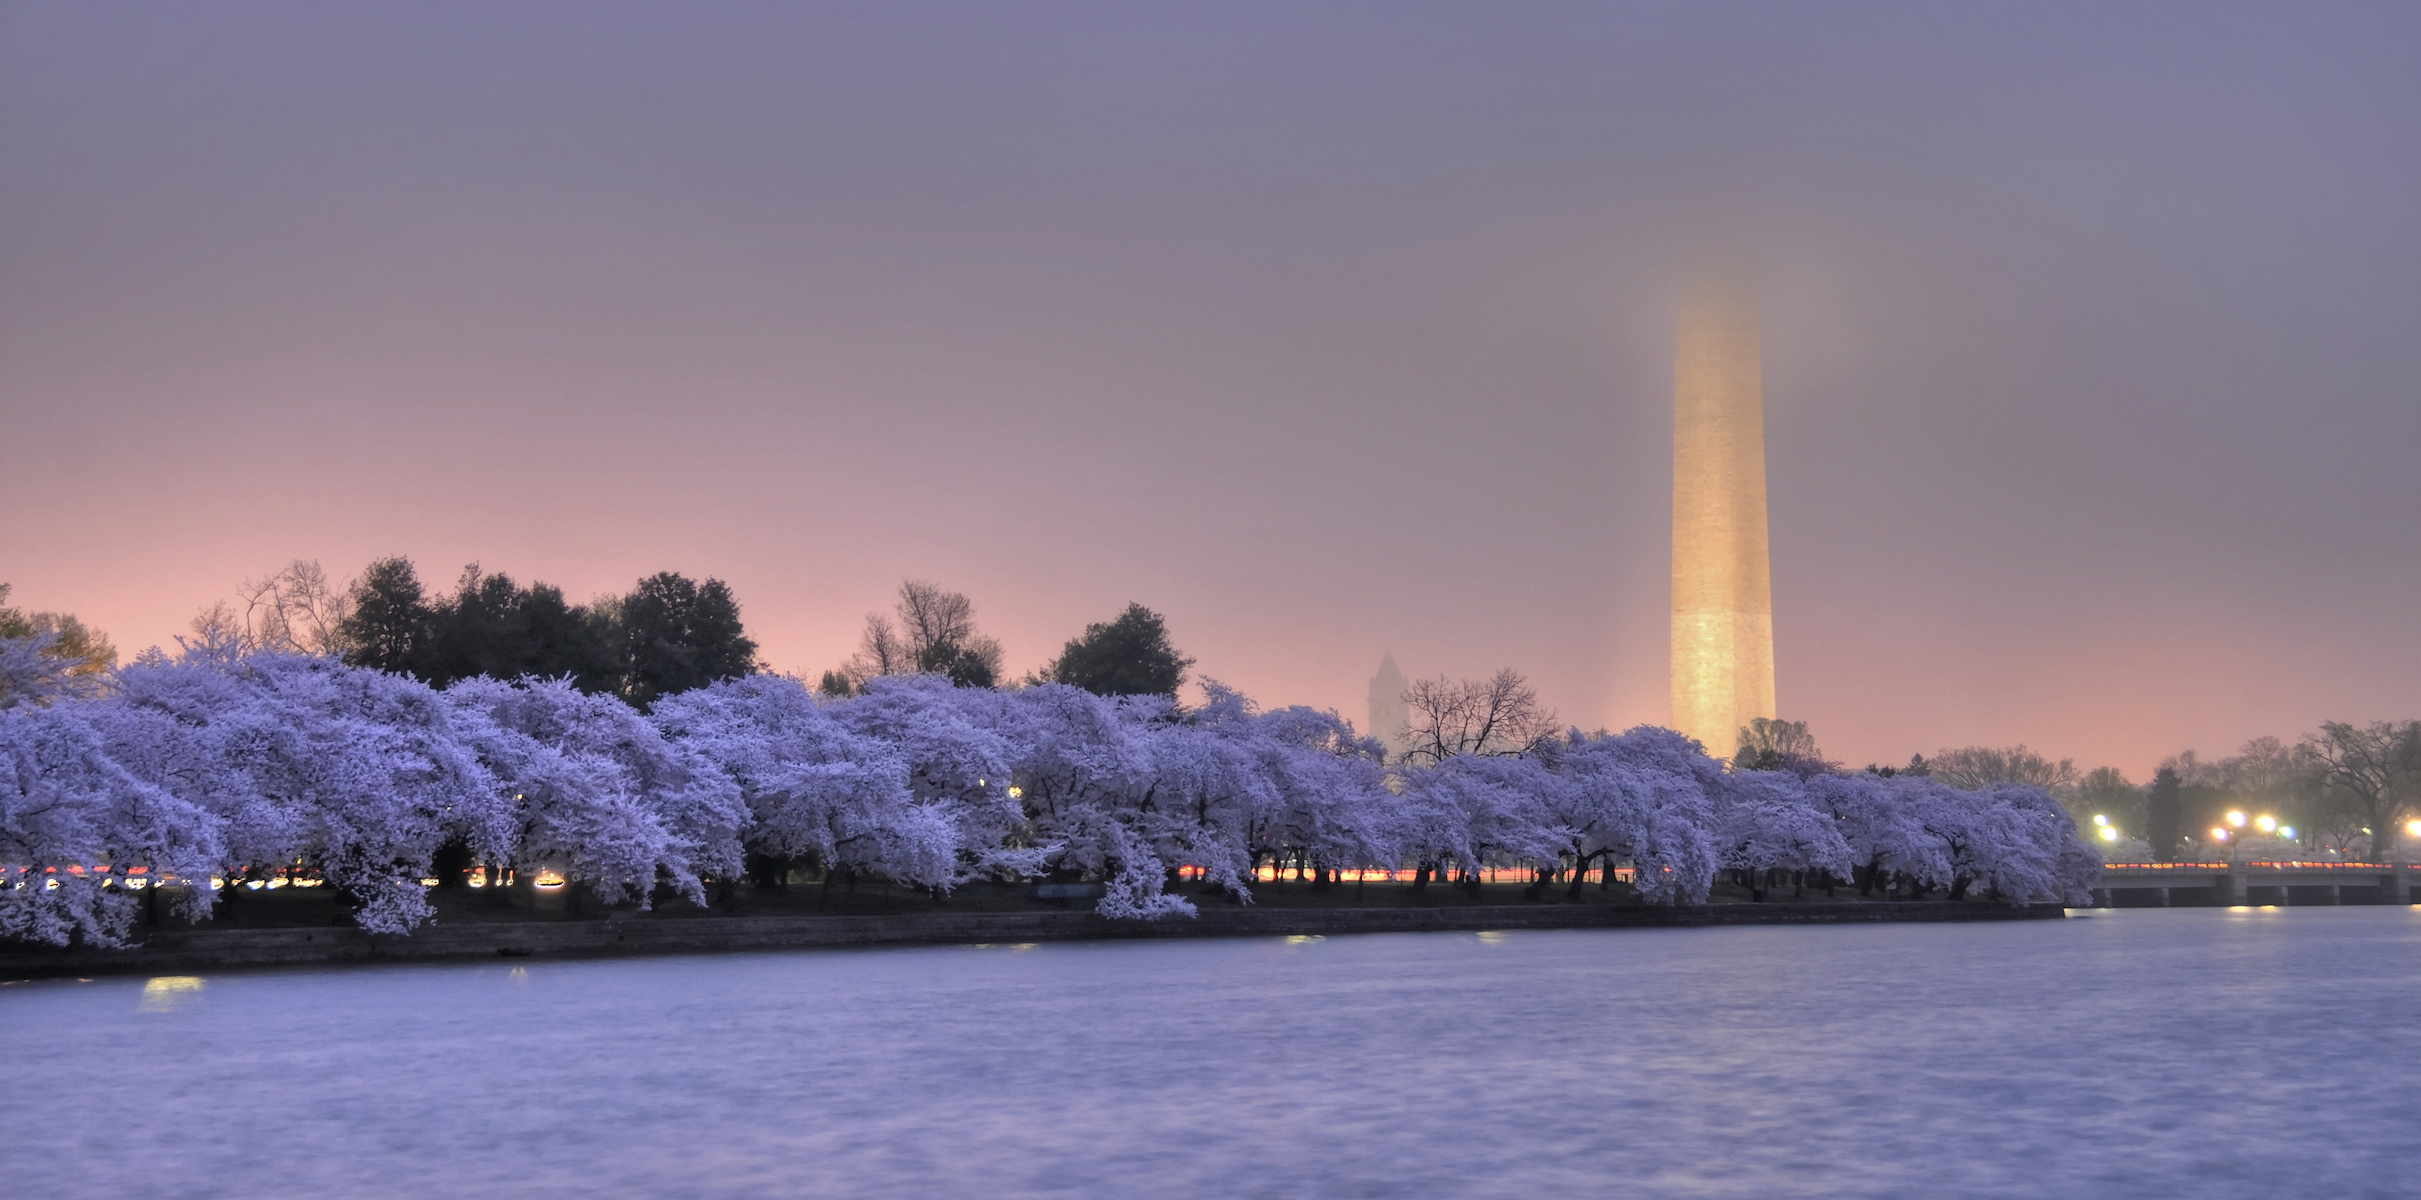
I usually advise people to avoid times of the year when DC is overrun with tourists. You don’t want to spend your vacation hoping some family figures out how to use their camera so they can take their family portrait and get out of your way. Since the Washington Monument sits in the middle of a vast amount of open space (the National Mall), it’s easy to find a place where people aren’t cluttering the foreground of your photo. With crowds being less of a consideration, it then becomes of a matter of what will make a good foreground and background for your photo. Many of the photographic possibilities I discuss below incorporate trees. This makes the blooming of the cherry blossoms in late March – early April and the Autumn colors in late October – early November particularly good times to go. The grass around the Monument turns an unpleasant shade of brown from December – early March making those months less ideal.
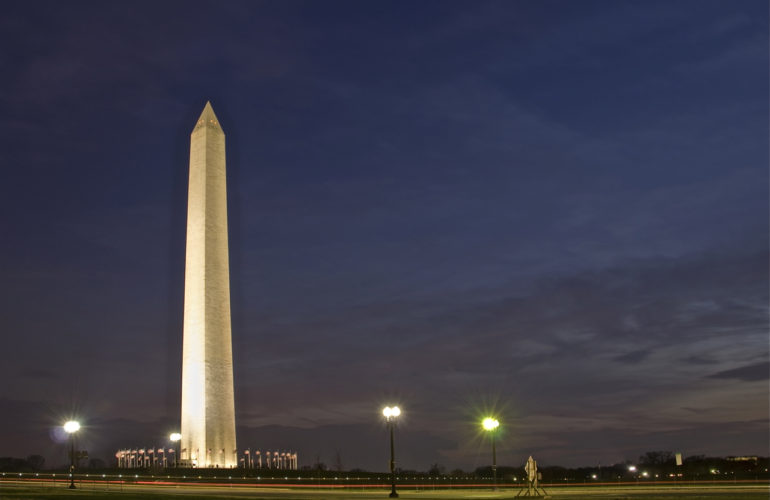
I’ve gotten great photos of the Washington Monument at all times of day. The area around the Monument is wide open on all sides allowing for great sunrise and sunset backdrops. Many of my favorite shots of the Monument were taken during morning or evening twilight; just before sunrise or just after sunset. The sky is beautifully lit, but you don’t have high contrast and dynamic range to worry about. The Washington Monument is bathed in light all night long. The lights are extremely bright which can cause problems if you want to expose some darker area in the foreground. In these situations, the Monument will often end up blown out.
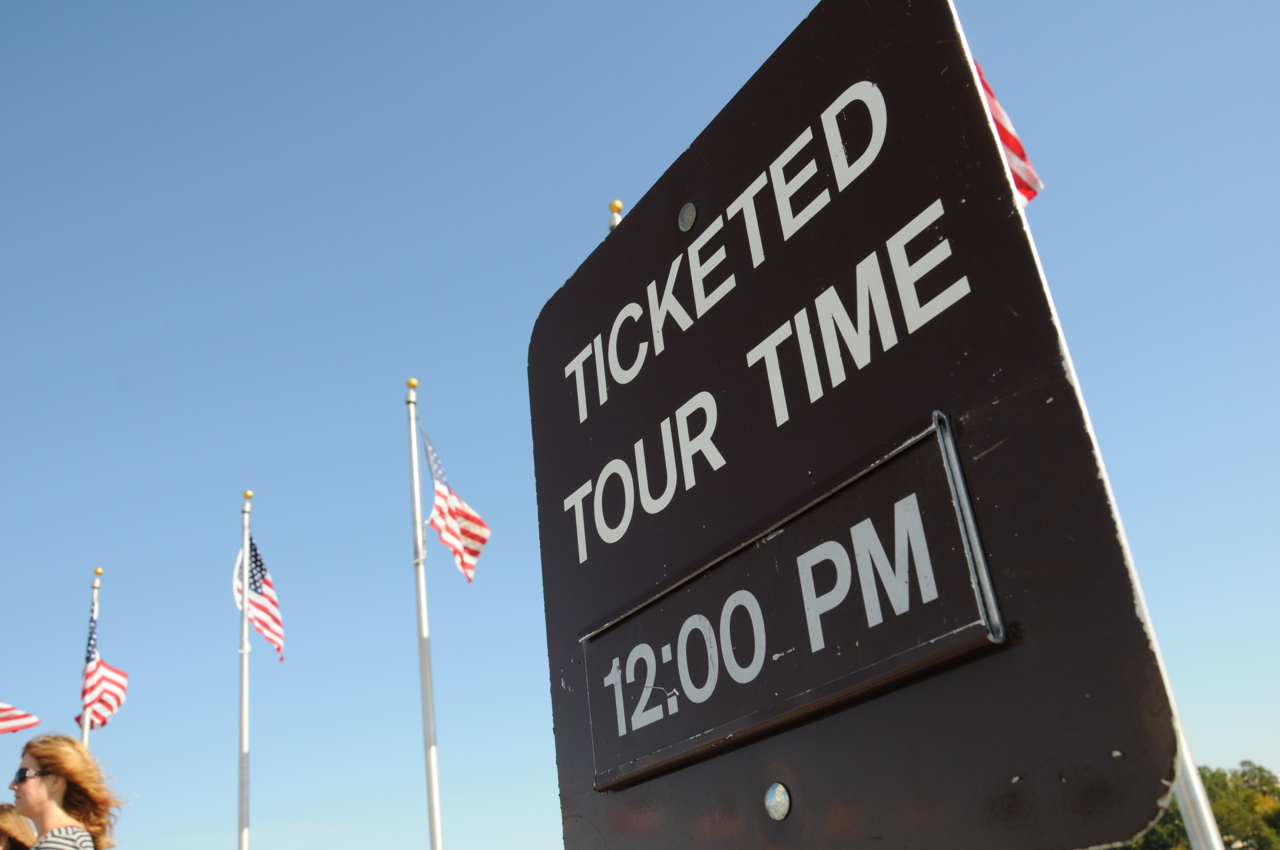 The observation level of the Washington Monument is only open during the day; from 9 – 5. Free, timed tickets are available at the visitor’s center starting at 8:30. If you don’t want to get up that early (what’s wrong with you) or if you’re worried about not getting tickets, you can also get tickets online for a small processing fee. As you might expect, the winter months are less crowded.
Photographic Possibilities
The Washington Monument’s height makes it visible from many places around the National Mall, providing for a number of interesting possibilities.
-Around the Base-
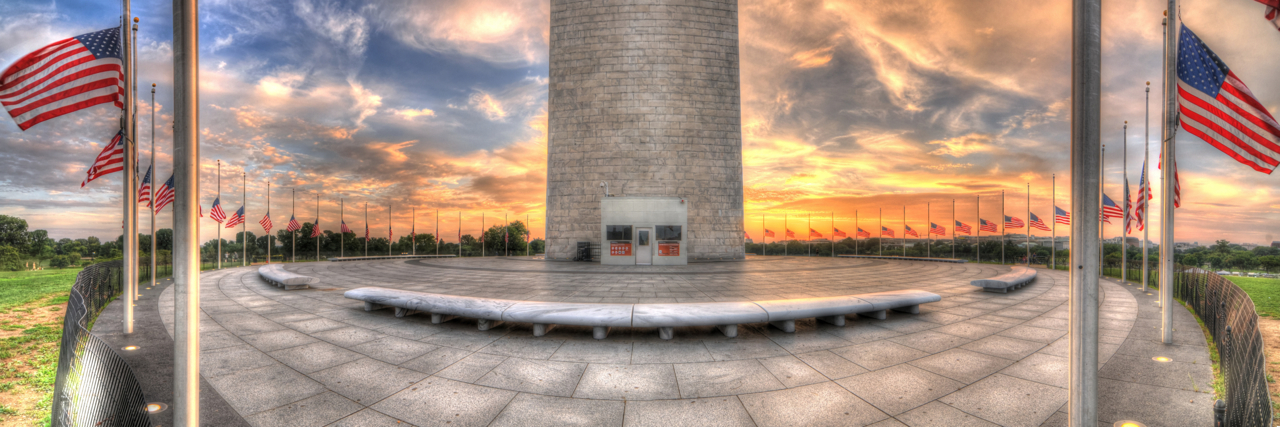
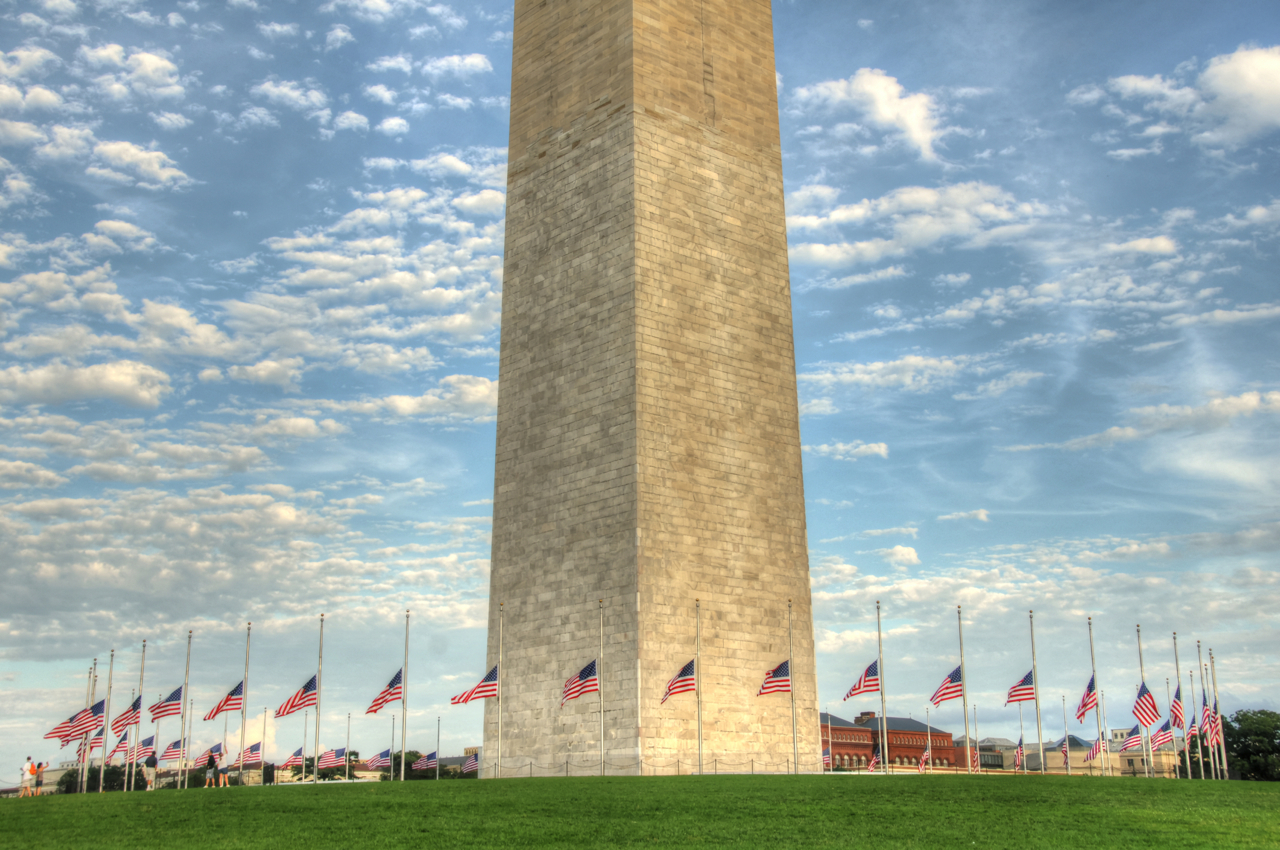
At the base of the Washington Monument there is a circular platform surrounded by 50 flags. To me, these flags are the most picturesque thing about the area immediately surrounding the Monument; I try to incorporate them whenever possible. You can also take photos directed upward toward the pinnacle, but I find these to be less appealing.
-Out a Little Further From the Base-
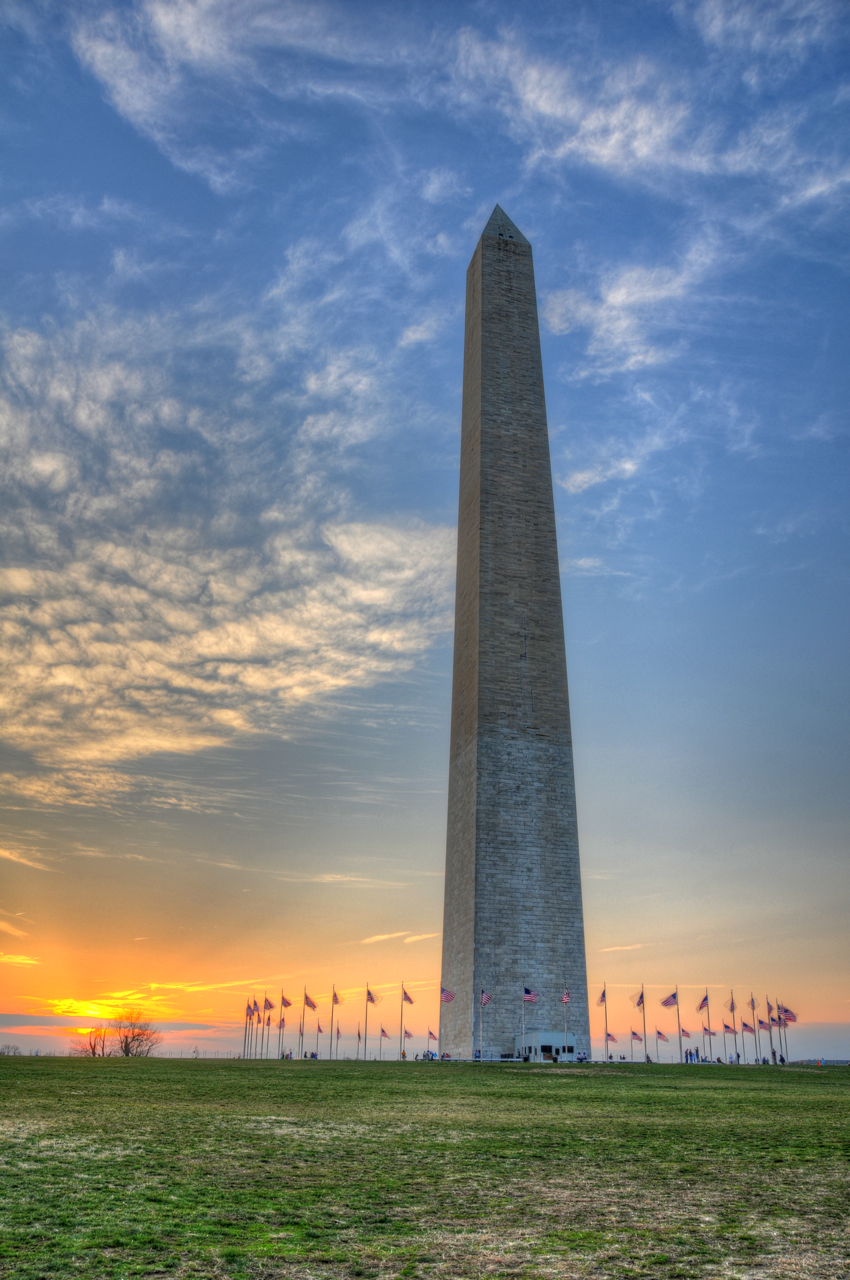 The main challenge with taking photos of the Monument is that it is 10 times taller than it is wide. It’s tough to fit the whole thing in a single picture
This is most easily solved by walking away from the base, zooming all the way out, tilting your camera back, and shooting with a portrait orientation. That isn’t necessarily the framing that you want though. You have a centered composition, you’re stuck with portrait orientation, and the Monument looks like it’s leaning backward because you used too wide a focal length and/or you tilted too far back. So it becomes a matter of experimenting with how far to move back.
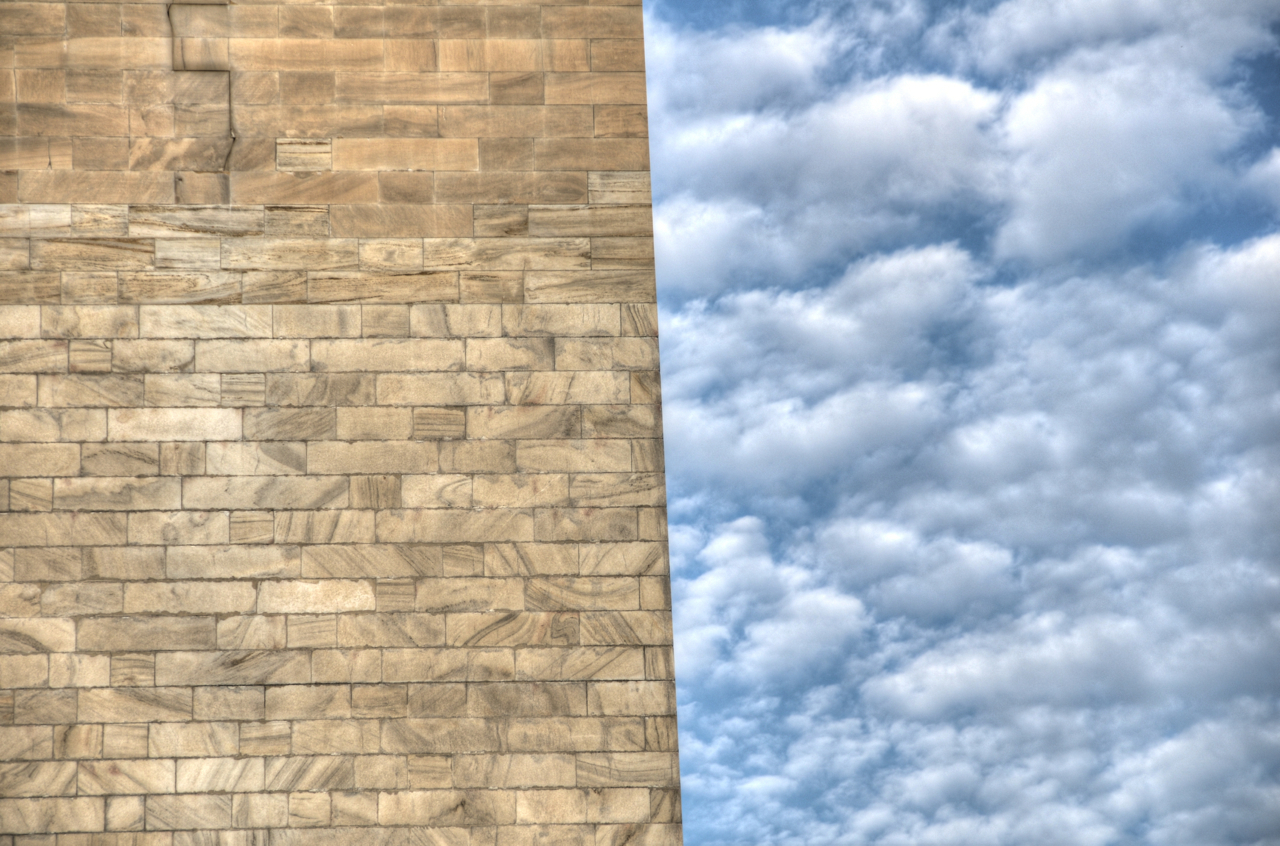
One thing that it took me a number of trips to the Monument to learn is that you don’t have to get the whole thing in a single photo. Play around with different pieces of the full structure.
-Reflecting Pool-
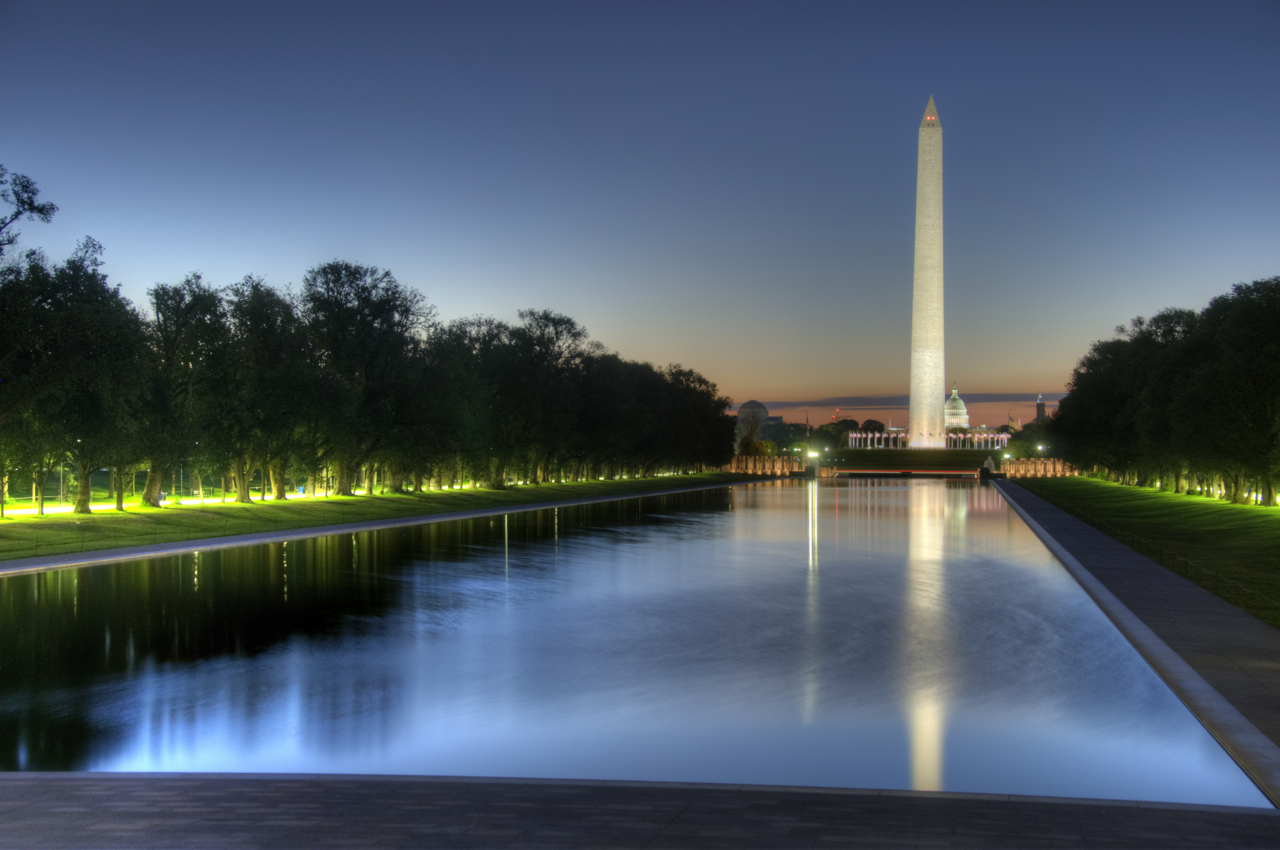
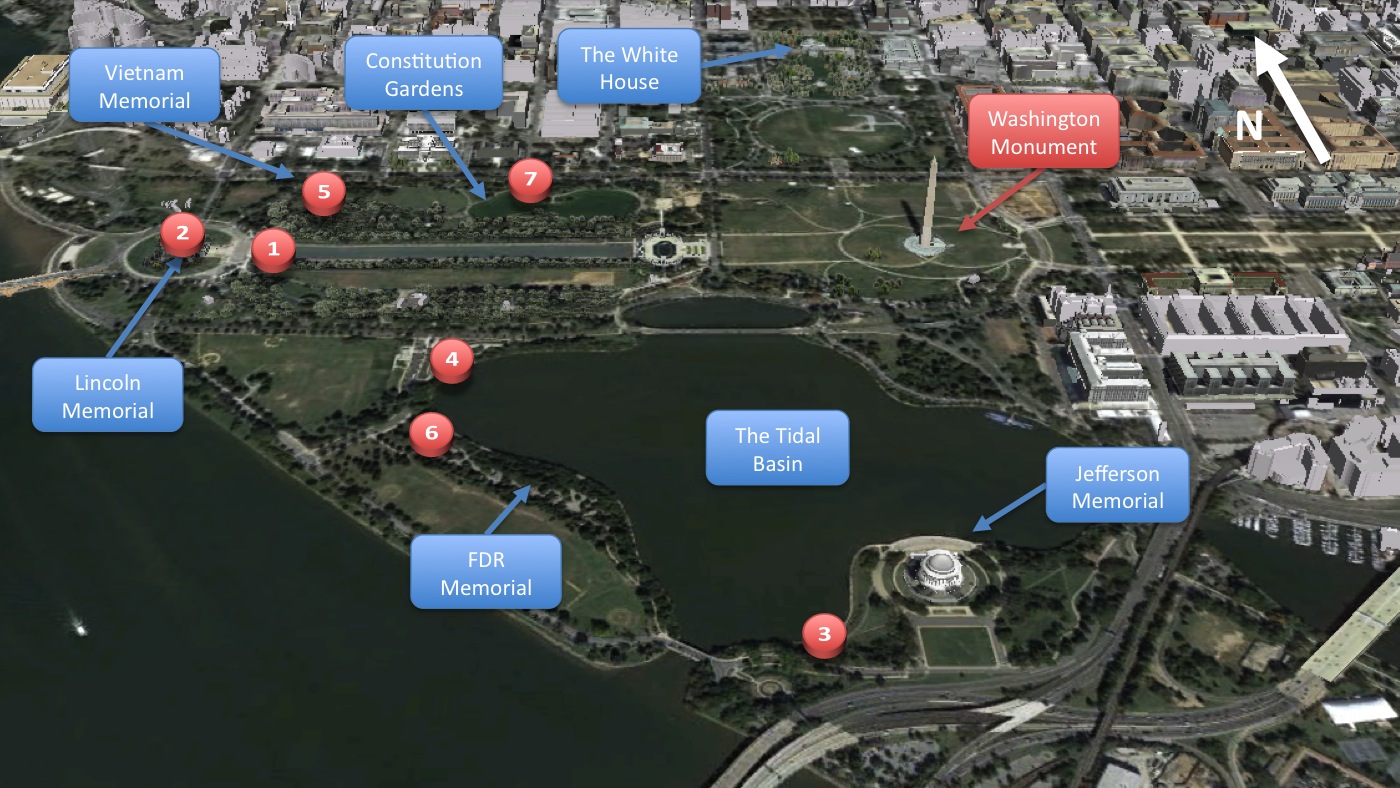
The most iconic composition of the Washington Monument is from the West end of the Reflecting Pool ((1) in the map below), near the Lincoln Memorial.
– Elsewhere on the National Mall-
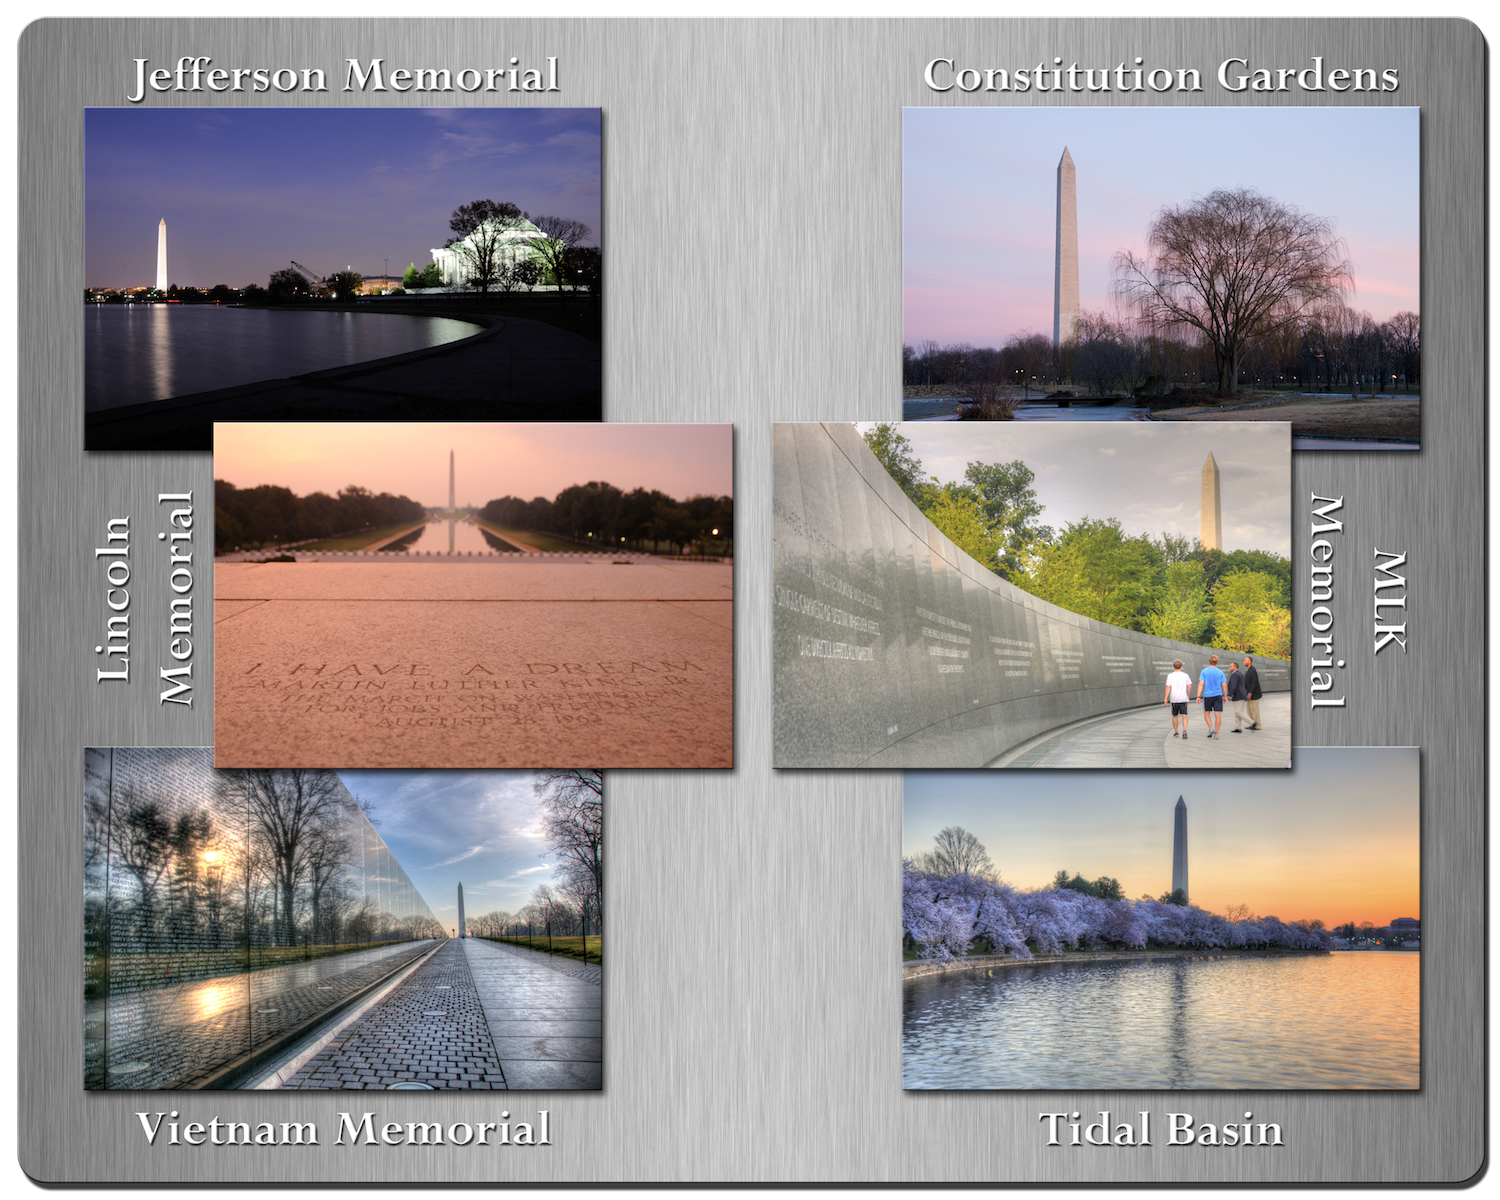
As you’re wandering around, you’ll have opportunities to compose unique photos that incorporate some of DC’s other iconic locations. The Washington Monument can be seen from the (2) Lincoln, (3) Jefferson, (4) MLK, and (5) Vietnam Memorials. It can also be seen towering over the (6) Tidal Basin and (7) Constitution Gardens.
-Observation Level-
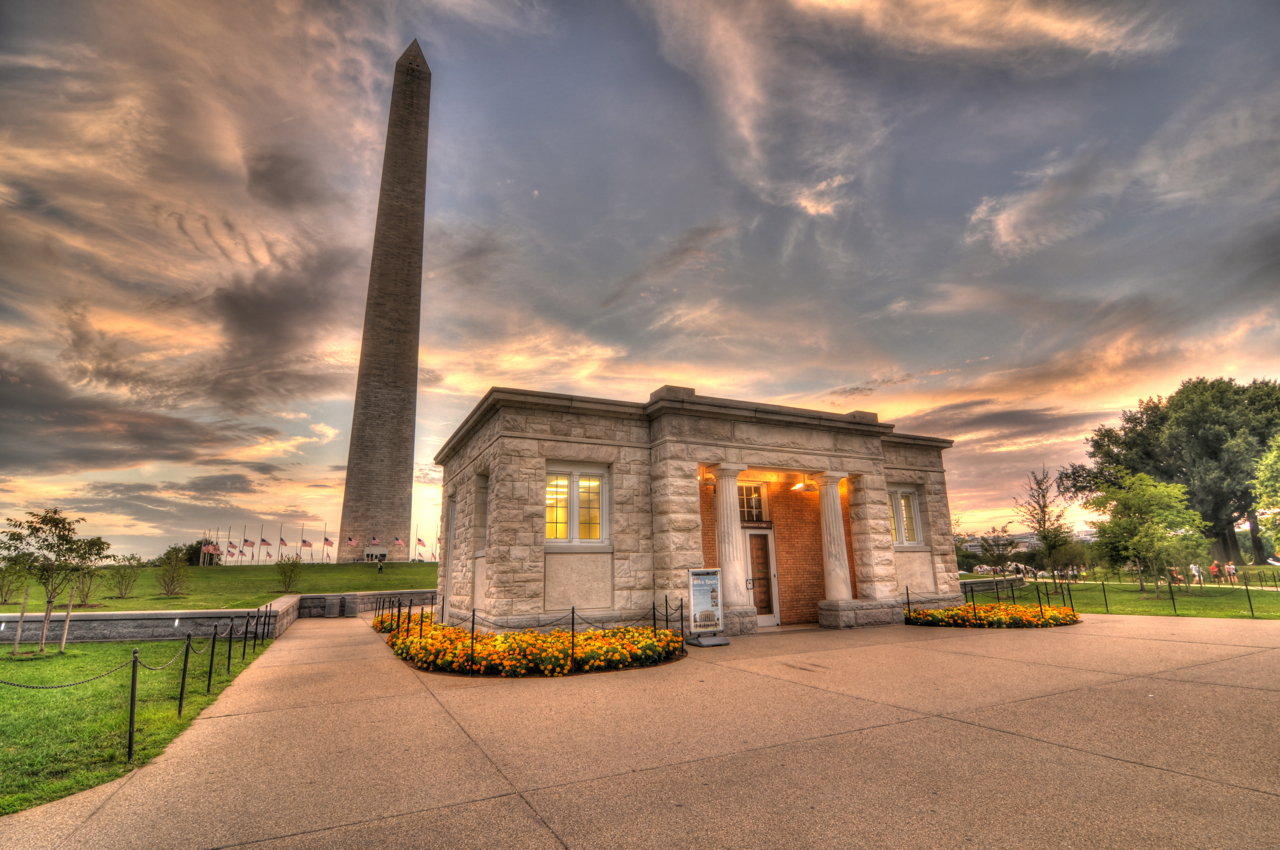 The observation level of the Washington Monument provides you with amazing views of all of Washington. Once you get to the top you proceed at your own pace. You can take as much time as you want to take your photos.
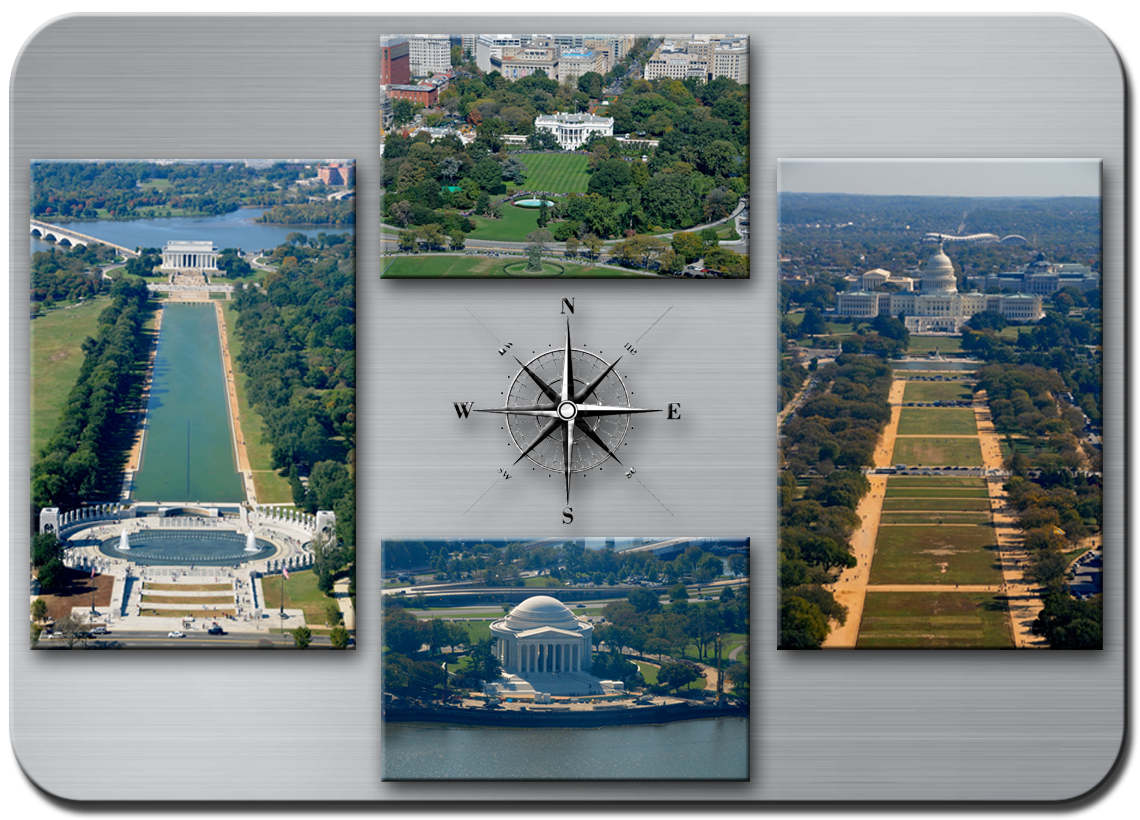
There are two windows on each of the four sides facing the cardinal directions. Looking out the North side, you can see the White House, the Ellipse, and the Washington cityscape. Out the East side, you can see the various Smithsonian Museums, the Capitol, the Supreme Court, and the Library of Congress. Out of the South side you can see the Jefferson Memorial, the Tidal Basin, and National Airport. And finally, out of the East side, you can see the Reflecting Pool, the Lincoln Memorial, the War Memorials, and Arlington Cemetery.
You will likely want a mixture of wide-angle photos to capture the amazing expanse that you can see and tight, narrowly-focused photos of the individual places I wrote about above. There isn’t much room for swapping out lenses, so be sure you choose wisely before going up.
What to Bring
Lens: Since the Monument can be seen from pretty much anywhere, there is a wide variety of possibilities for lenses. For photos at the Reflecting Pool or the Tidal Basin, you will want a mid-range zoom lens (18-135mm for DX; 27-200mm for FX) to give you some choices for framing. For photos closer to the base, you can use the mid-range lens or you may want a wide-angle lens (< 18mm DX; < 27mm FX). And finally, for photos from the observation level you may want a telephoto lens (> 135mm DX; > 200mm FX). You will also want a telephoto lens for taking the Big 3 photo that includes the Washington Monument.
Tripod: I recommend bringing a tripod. Tripods aren’t allowed on the observation level, but they are allowed pretty much everywhere else on the National Mall. You will definitely want one for sunrise/sunset photos, HDR, and photos using higher focal lengths. There are a lot of big, open areas around the Monument without many convenient places to use a table-top tripod, so you can leave that at home or in your hotel room.
Flash: Leave the flash behind. Unless you’re taking portraits of your friends and family, a hot-shoe flash isn’t going to help you much.
Filters: You may want a circular polarizing filter. Your photos of the Monument will undoubtedly include the sky. To cut down some of the haze that hangs over DC and to get a deeper blue sky, consider using a circular polarizing filter.
Bag: Bring a medium or large bag. As I mentioned above, there are a lot of possibilities as far as lenses, filters, tripods, etc. You may want a variety of equipment, but keep in mind that the Washington Monument is right in the middle of the action so if you’re in DC for several days you’ll likely get multiple attempts to photograph it.
What you should bring will also depend on whether you plan on going to the Monument’s observation level. The National Park Service, Washington Monument website says that large bags are prohibited. It doesn’t define what large means exactly, but I wouldn’t try to bring in a backpack or a tripod (even just to carry with you). Outside the Monument however, there is plenty of room to bring a large backpack.
Additional Resources
- National Park Service, Washington Monument Homepage – The National Park Service doesn’t always do the best job with keeping their site up-to-date, but most of the information you’ll want to know for logistics can be found there.
- My Washington Monument Photo Set at Flickr – I didn’t put all of my Washington Monument photos in this article. You can see a more comprehensive set by clicking this link.
- 13 Interesting Facts About the Washington Monument You Didn’t Know – Of course when you write the captions for your photos, you’ll want to say something profound. Check out this post from local photographer Andy Feliciotti for some tidbits.
Summary
What: The Washington Monument
Where: Madison Drive Northwest, Washington, DC 20024
When: Anytime
____________________________
Lens: Wide – Angle (DX: < 18mm; FX: <27mm), Telephoto (18-135mm; 27-200mm), & Super-Telephoto (>135mm; >200mm)
Tripod: Bring it
Flash: Leave it
Filter: Circular Polarizer
Bag: Any Size; Small or Medium Size Bag if Going Inside
